Assuming you have some data on the map, this lesson will walk you through how to customize all map features. There are two primary features on the map, markers and boundaries. Both can be highly customized to match you brand. For convenience, all customizations cascade based on their hierarchy. You can customize at the "global" level, group or category level and lastly individual features.
1
To start customizing, you can click the menu icon on the top left. Then select File > Styles and click on the any option. All options open a large panel with all global styling options.
2
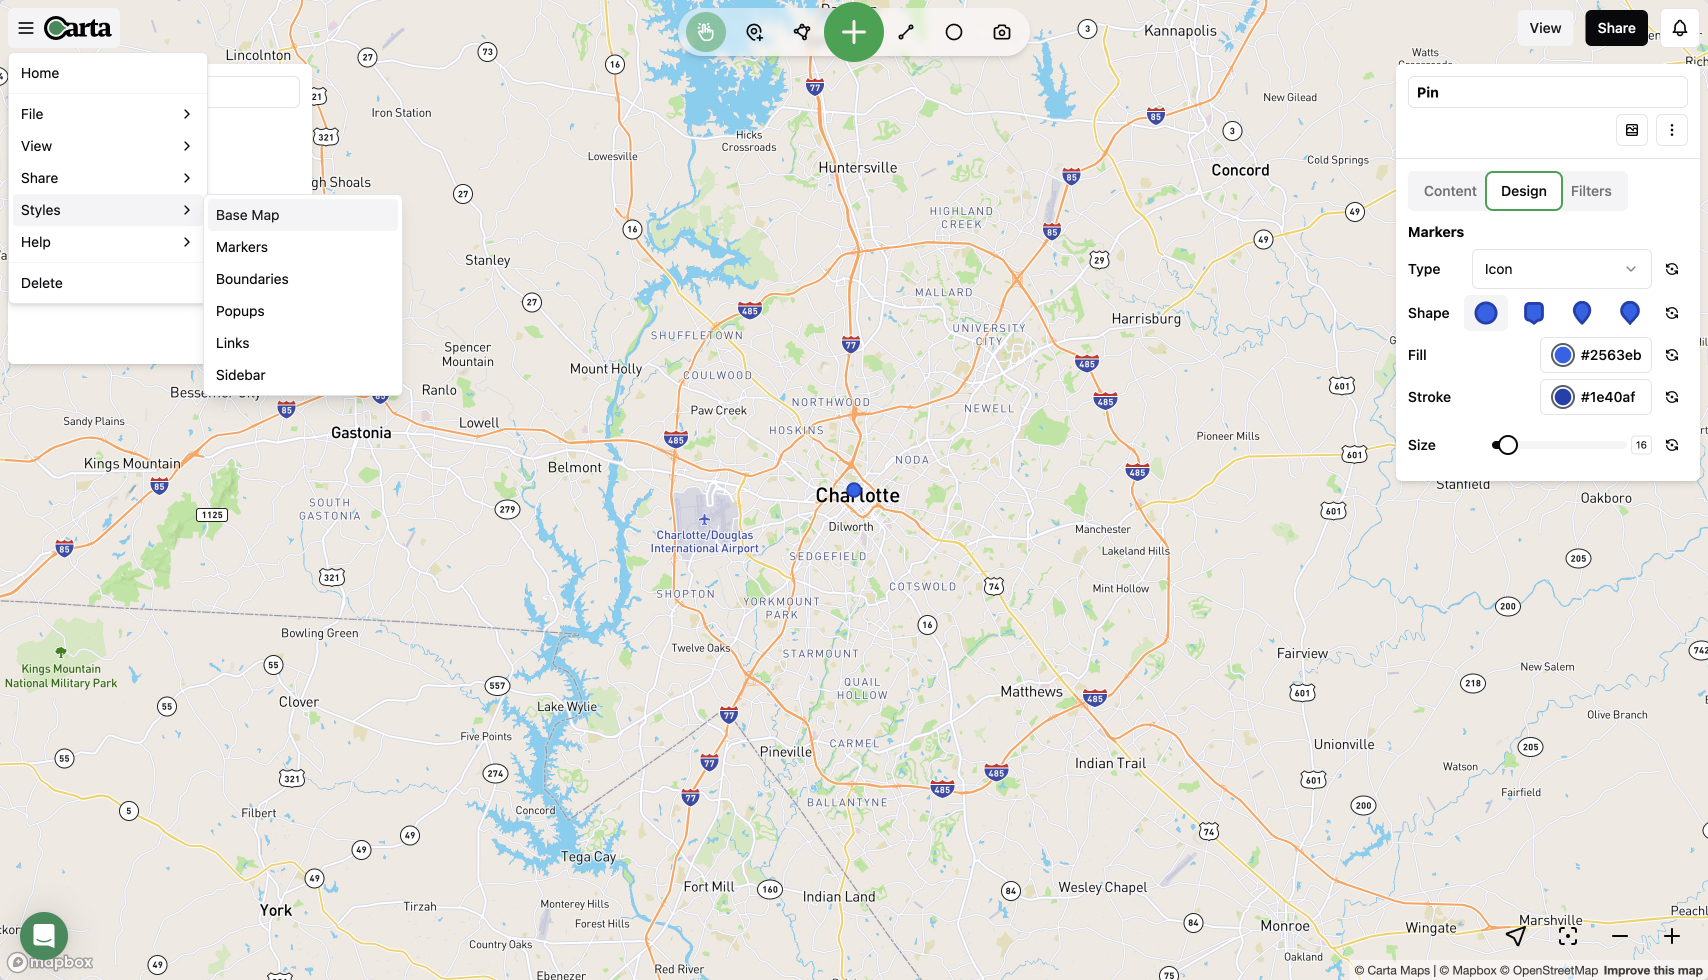
Alternately, you can click on a pin or boundary and select the "Design" tab and update the styles there.
3
There are three options for markers, a default style, emoji selector and lastly a custom upload option.
4
Select your preferred style and customization and watch you map immediately update and show your new marker styles.
5
If you have a boundary on the map, you can also customize that feature. Back at the main File > Styles menu, click the boundary option.
6
Here you will see a similar form where you can update the color, border color and border size for the boundaries.